How to Install a Garden Sundial: True North Alignment and Leveling
A sundial is an instrument, not an ornament, and it will quietly expose any sloppiness in its installation every sunny hour of the year. Rotate the plate two degrees away from true north and the shadow lands visibly to one side of the noon line. Tilt it, and the morning hours drift one way while the afternoon hours drift the other. The good news is that all of this is fixable with a spade, a bag of sand, a spirit level, a straight rod and an afternoon of patience. What follows is the order in which the job actually works: site first, base second, leveling third, true north fourth, gnomon fifth, and a check against the clock at the end.
Choosing the Site and Preparing the Base
Start by watching the garden rather than the catalogue. A horizontal dial needs unobstructed sun from roughly six in the morning to six in the evening in summer, and it needs it all year. Walk the candidate spot at mid-morning, at noon and again in the late afternoon, and note what throws shade: a hedge that is waist-high in April can be head-high by July, and a wall that is harmless in June casts a long shadow in November.
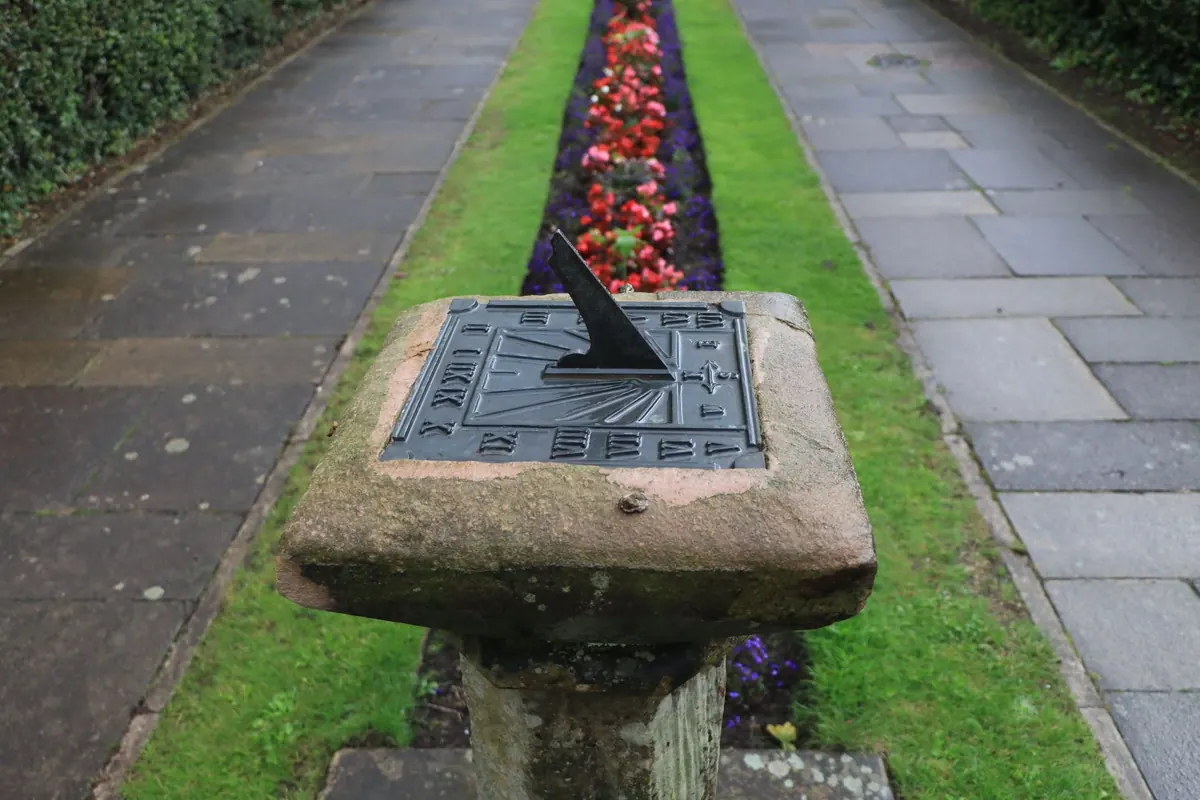
Height matters as much as light. Mount the dial on a pedestal so the plate sits somewhere between waist and chest height. That way you can read it standing up, the plate stays clear of grass, fallen leaves and sprawling perennials, and the gnomon is less likely to be knocked out of line by a strimmer or a football.
A short kit list saves repeated trips to the shed:
- A spirit level, ideally 60 cm or longer, plus a small one for tight spaces
- Stakes, string and a chalk line for marking the north–south axis
- A straight rod or dowel about a metre long, checked for straightness, for the shadow method
- Sharp sand, gravel or mortar mix, and a rubber mallet
- A protractor or angle gauge, or a folding rule and a little trigonometry
- A notebook and pencil for recording marks and times
For the base itself, dig out a patch about 30 cm wider than the pedestal foot on every side and 20 to 30 cm deep. Fill it with compacted hardcore or gravel, then finish with a concrete pad or a thick, flat flagstone. In cold-winter climates, take the footing below the frost line so heave does not lift one corner of the dial in February. Keep the finished surface a whisker above the surrounding soil with a slight fall away from the pedestal, so rainwater runs off rather than pooling around the base.
Setting the Pedestal Plumb and the Plate Level
Two separate checks are needed here, and they are easy to confuse. The pedestal must be plumb, meaning vertical. The dial plate must be level, meaning horizontal. A leaning column with a level plate on top will still read correctly in the short term, but it looks wrong and the plate will creep out of adjustment as the ground settles.
Set the pedestal on a bed of mortar, check it with the level against two faces at right angles, and leave it alone until the mortar has properly cured. Then seat the plate. Place the level across the plate, check, rotate it ninety degrees, check again. If your level is short, bridge it across two straight batons laid on the plate so you are reading the whole surface rather than one small patch.
One trap worth knowing: not every cast plate is truly flat. Before you blame your leveling, rest the level on the plate and try to rock it, or slide a thin feeler underneath at the corners. If the plate itself is dished or warped, seat it so the engraved hour lines sit level, and accept that the rim may not be. A plate that is out of level by a degree will put the shadow a degree off the hour lines, which at midday is roughly four minutes of reading error.
Finding True North
Magnetic north is not true north, and a compass alone will not do the job. The difference between the two — magnetic declination — varies from place to place and changes slowly over the years. In some regions it is more than fifteen degrees; in others it is close to zero. If you use a compass, look up the current declination for your location from a reliable map or national geodetic source and apply it, rather than trusting the needle's own markings.
The sun is a better reference, and the equal-shadow method needs nothing more than a sunny morning and a flat patch of ground near the dial site:
- Push a straight rod vertically into level ground and check it with a spirit level in two directions. Its base becomes your reference point.
- Two or three hours before local noon, mark the exact tip of the rod's shadow with a small peg or a scratch in the soil.
- Tie a string to the base of the rod and use it to draw an arc through that mark, sweeping across the ground where the afternoon shadow will fall.
- Wait. When the shadow tip crosses your arc again in the afternoon, mark that point too.
- Bisect the angle between the two marks — find the midpoint of the arc between them — and run a line from the rod's base through that midpoint. That line is true north–south.
Extend the line with string and stakes past the spot where the dial will stand, and keep it marked until the plate is finally aligned. In the northern hemisphere you can cross-check on a clear night by sighting Polaris and dropping a plumb line, though Polaris circles the pole by a fraction of a degree, so average two sightings an hour apart if you want to be fussy. South of the equator, the equal-shadow method works just as well and is the simplest option.
Setting the Gnomon to Your Latitude
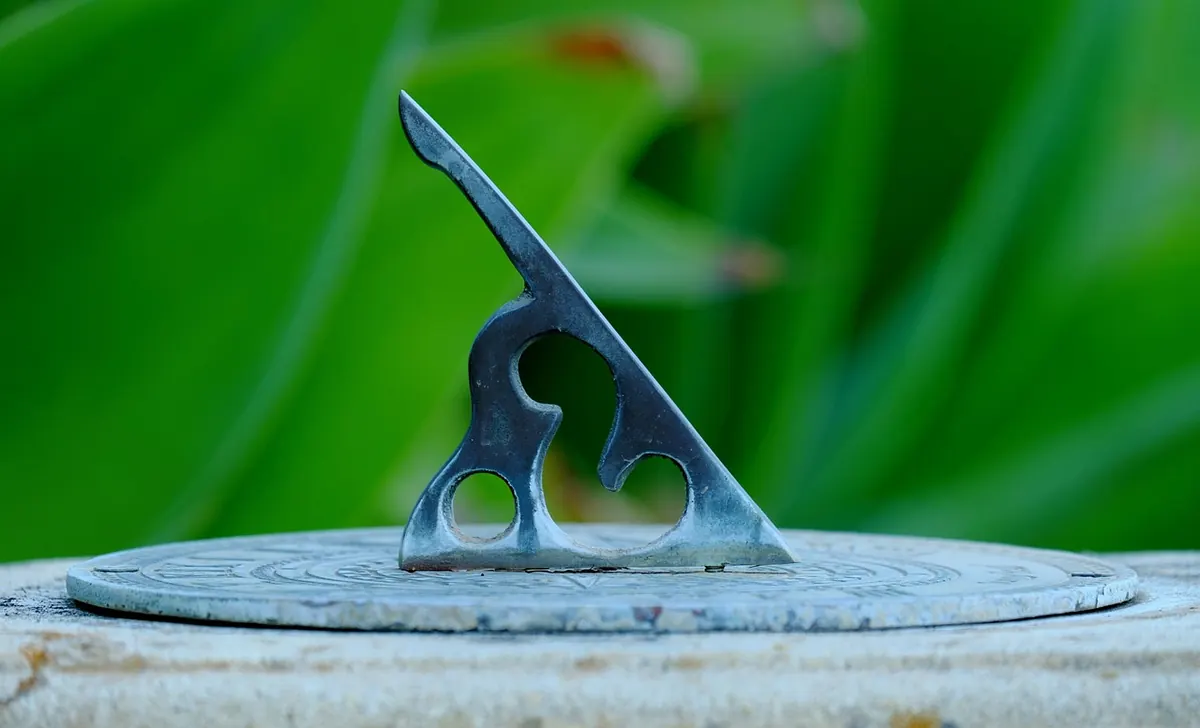
This is the part that separates a working dial from a decorative one. On a horizontal dial, the angle the gnomon's upper edge makes with the plate must equal your latitude. At 45 degrees north, the style stands at 45 degrees. At 52 degrees, it stands at 52. The style must also lie in the meridian plane, pointing at the celestial pole — which is why you found true north first.
On an adjustable dial, loosen the retaining screw, set the angle with a protractor or angle gauge, and tighten it firmly. If you have no protractor, measure a known distance along the plate from the foot of the gnomon and check the height of the style above the plate at that point; the ratio gives you the angle. On a fixed dial, measure the angle it already has. If it is within a degree or so of your latitude, the error is small enough to live with. If it is well off — a dial bought in Italy and installed in Scotland, say — ask the maker whether the gnomon can be replaced, because tilting the whole plate to compensate introduces errors elsewhere.
Checking the Dial Against the Clock
At true solar noon, the gnomon's shadow should lie exactly along the noon line and point due north. That single check confirms your alignment. Everything after that is about understanding why the dial and your watch disagree, which they will.
Three corrections explain almost all of it. First, the equation of time: the sun runs fast or slow against mean time by up to about a quarter of an hour across the year, so a perfect dial will still be minutes ahead in November and behind in February. Second, longitude: the sun crosses your meridian earlier or later than it crosses the standard meridian of your time zone, at four minutes per degree. If you are three degrees east of that meridian, your dial will show noon while the clock still reads 11:48. Third, daylight saving, if your region uses it — add an hour to the dial reading before comparing.
Test at three or four times of day, not just at noon. A dial that is right at midday but increasingly wrong by mid-afternoon is usually rotated slightly rather than badly made, and a small nudge will fix it.
Keeping It Accurate Through the Year
Once the dial is set, write the date and the final readings in the notebook and leave it in the shed. Every spring, put the level back on the plate and check the noon line against your marked north–south axis; frost, root growth and settling soil all move things quietly. Clear moss and leaf litter from the plate so the engraved lines stay legible, and resist the urge to polish the surface to a mirror — a slightly matte plate is far easier to read. Do those two small things and the dial will keep honest time for decades, which is rather more than most garden ornaments can claim.
Photo: jarmoluk / Pixabay
You Might Also Like
At the winter solstice a sundial's shadow stretches two or three times the gnomon's height. Here is how to plan, expose, compose and protect camera and dial in the cold.
A hands-on family guide to the spring equinox: plant a stick, track its shadow, measure it at noon, and find true north with chalk and a child's height.